Work instruction for TermoPlokk
You have made a good decision by choosing TermoPlokk wall solution to your home’s external walls. By using TermoPlokk blocks, you get a highly heat-proof envelope very fast and with a low lobour input. Hereby, we describe shortly the wall building work process for those who have chosen plate foundation for the house.
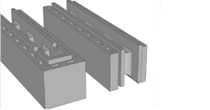
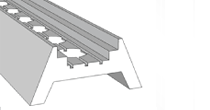
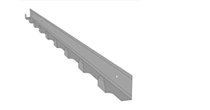
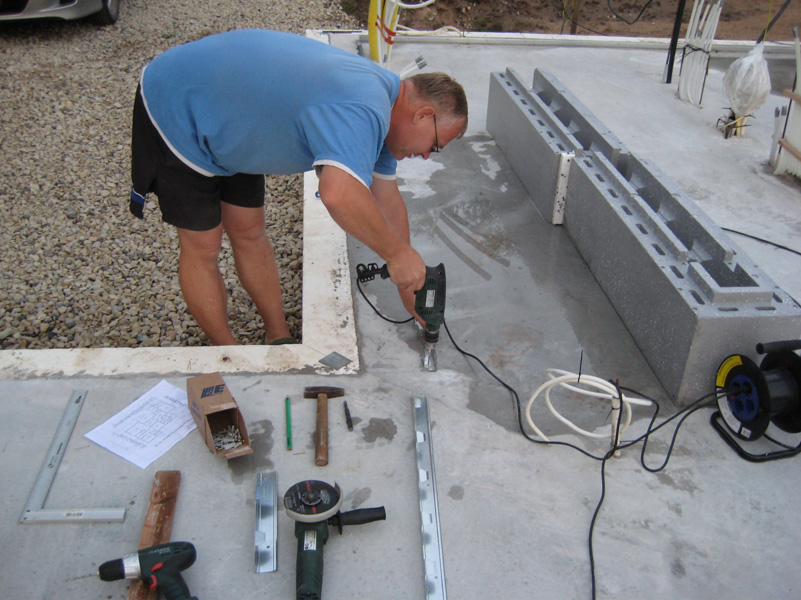
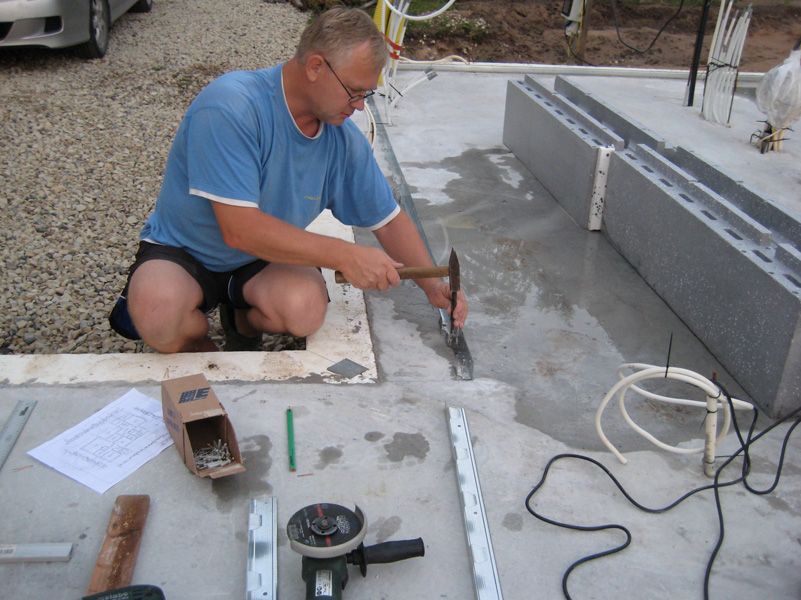
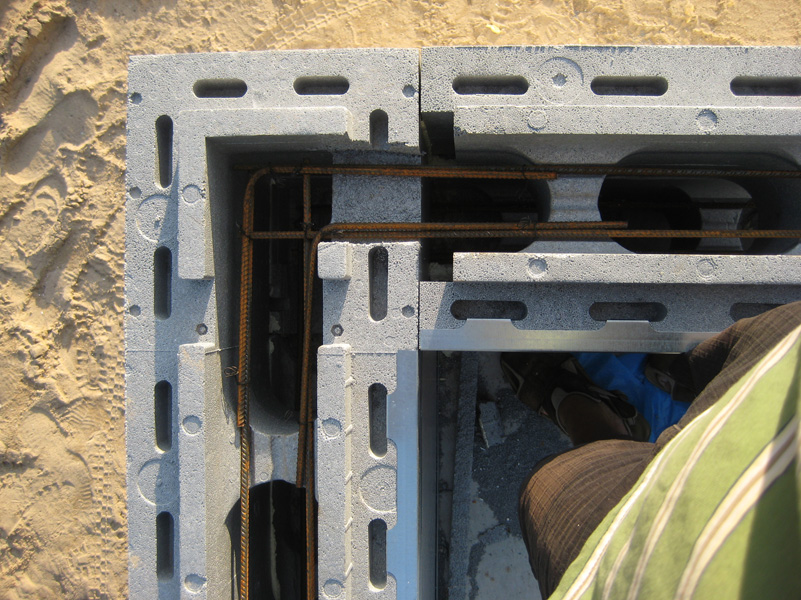
Please mark the internal contour of the external walls to the floor by using a marking core or a long plumb rule. Anchor a metal profile on the foundation by using nail plates (e.g. 6×40) (1, 2, 3). Use a knife or fine saw to cut off pieces from the corner block’s top (4) and bottom (5) side, such that the concrete can pour throught to the neighboring block.

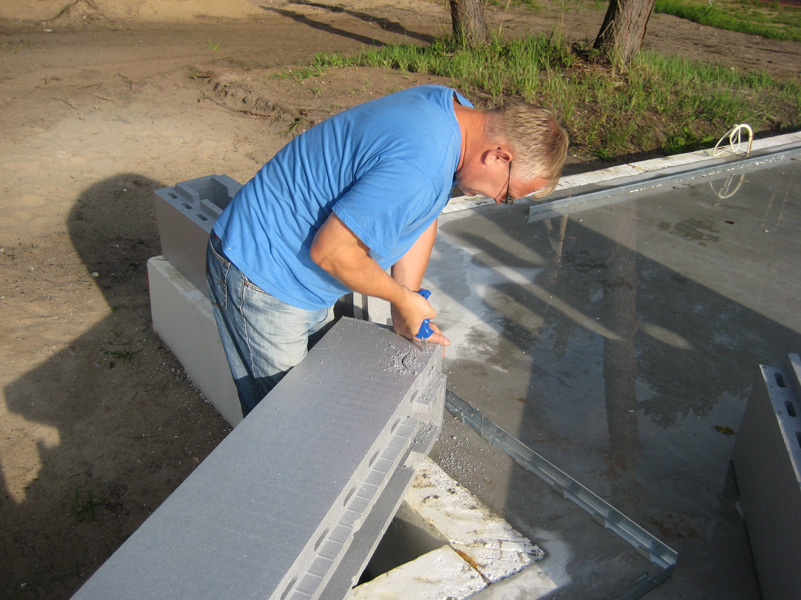
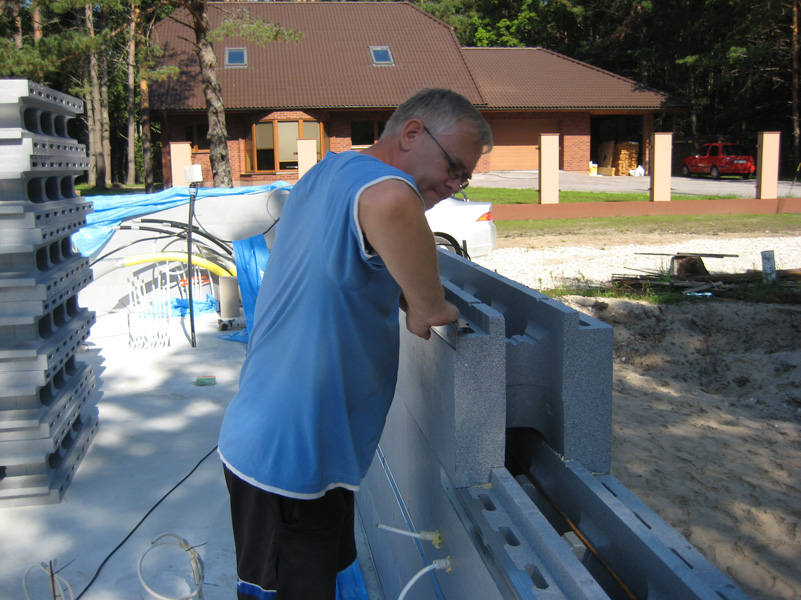
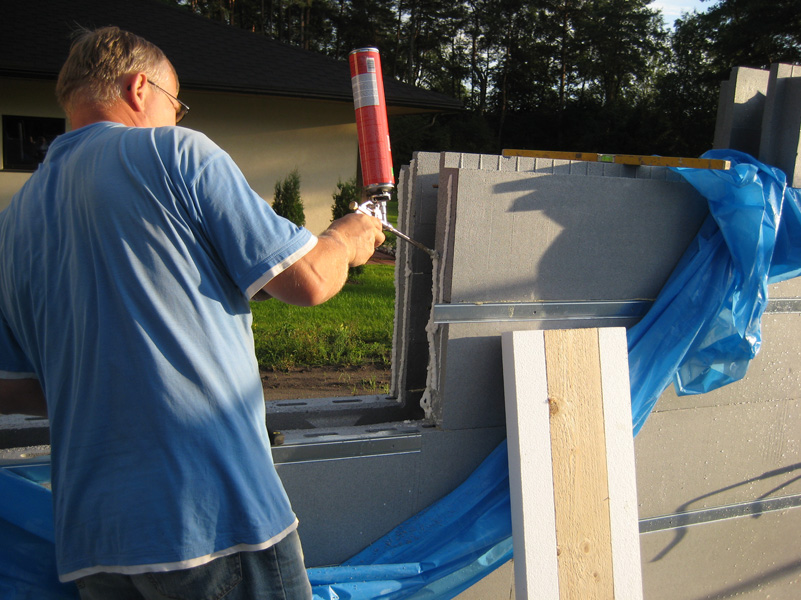
Measure out the corner block’s location and install first the corners (6) and then the row blocks between the corners (8). “Glue” all blocks to each other with construction foam (7) – such that the wall will become stiffer and needs less support later, during the concrete casting.
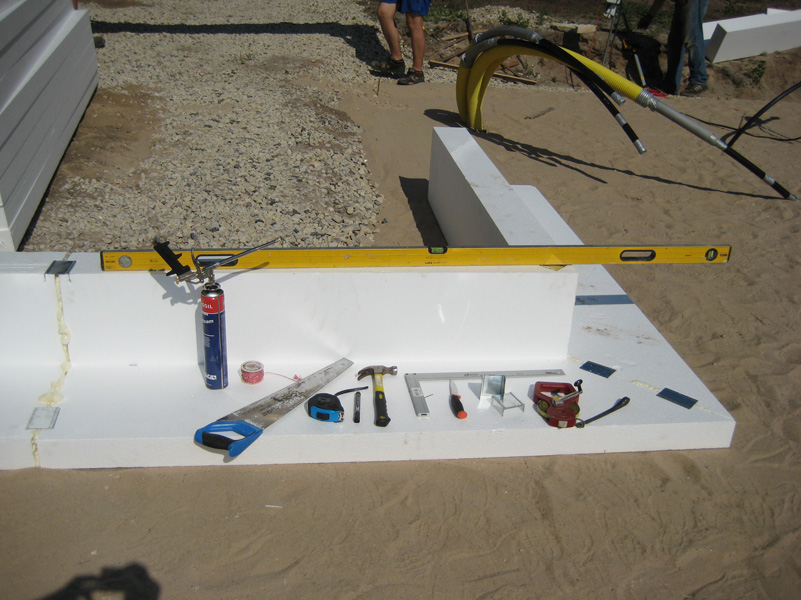

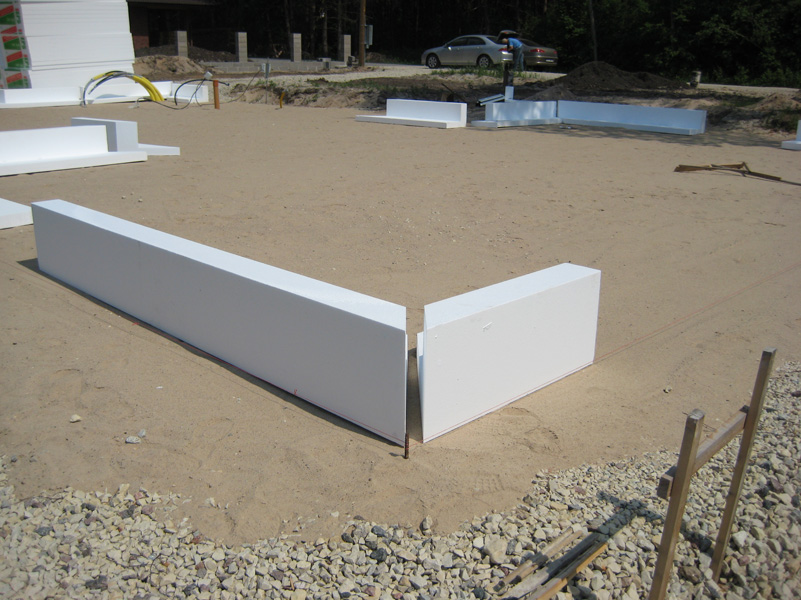
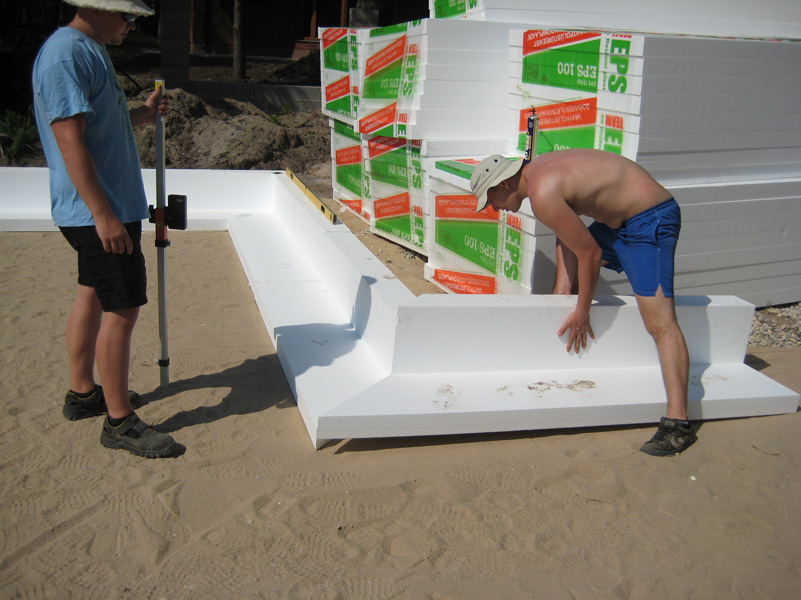
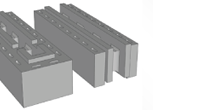
When installing the last block on the row (8), measure out the needed length of the block, mark it on the block and saw it to the required length with a hand saw (9). We recommend to pour a couple of shovelful of concrete to every block after finishing the first row, in order to firmly fix the lowest block row. Put 2×8 mm reinforcement bars on every row (10). Bind the bar joints and corners (11). If needed, you can also hide electrical cables inside of the wall (12).

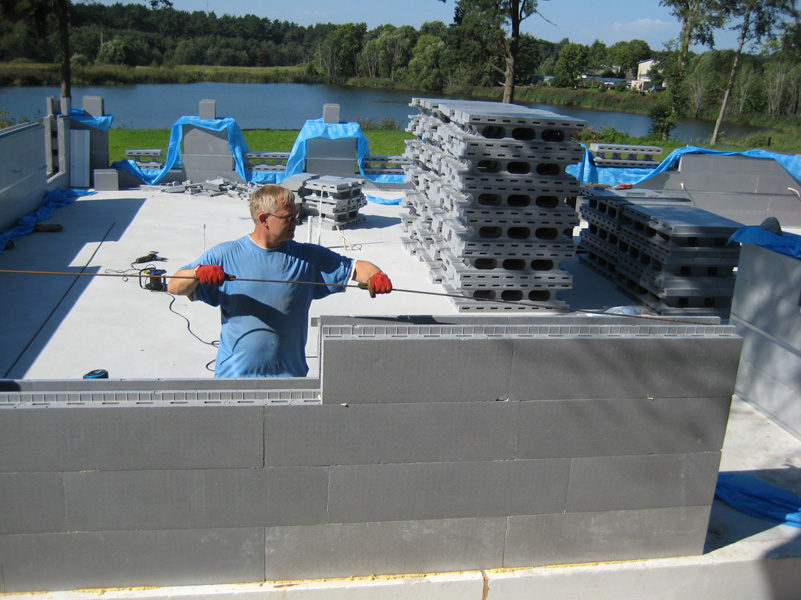
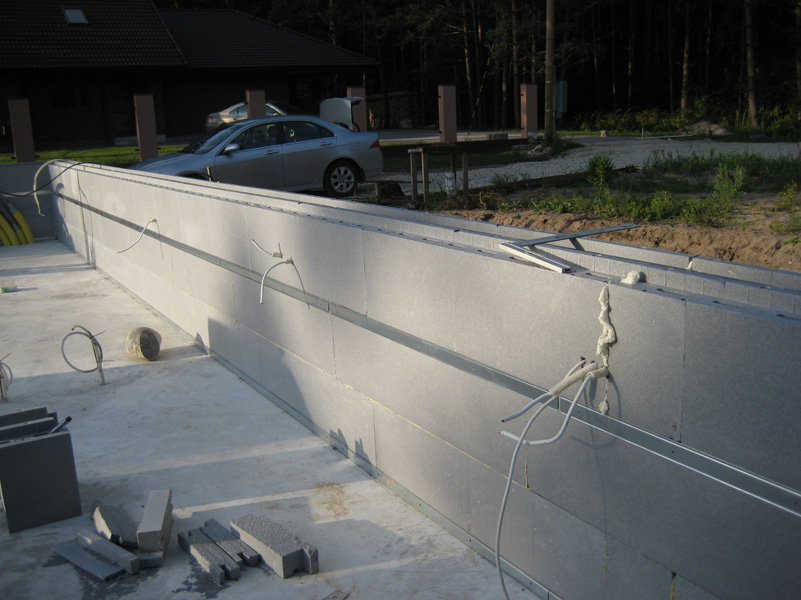
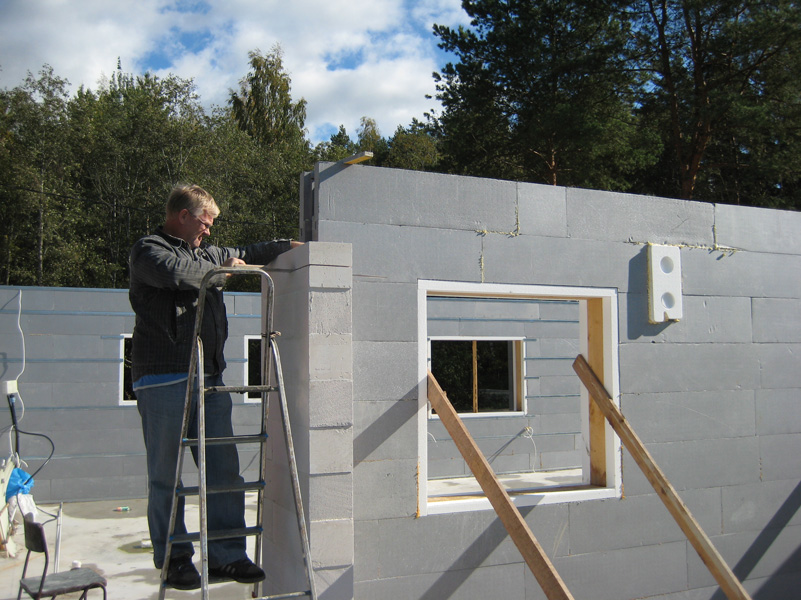
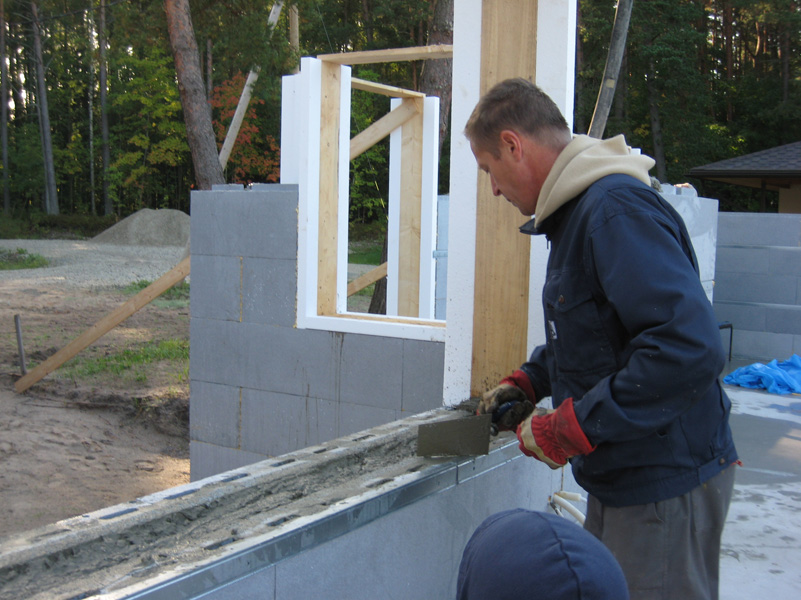
After every second row (60 cm), fasten a metal profile on the internal wall to ease the montage (13) of finishing materials (e.g. plaster board). Use power cutter to cut the material to the needed length. Be sure to attach the metal profile to the bottom and top edge (14). Cut the metal profile on the side of the aperture such that it also covers the side of the aperture profile (15). Glue the blocks by using construction foam (16)
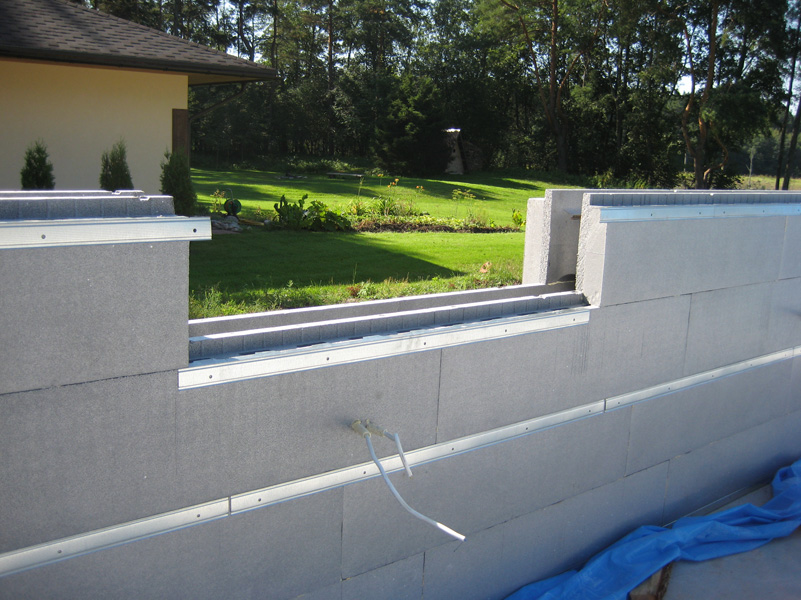
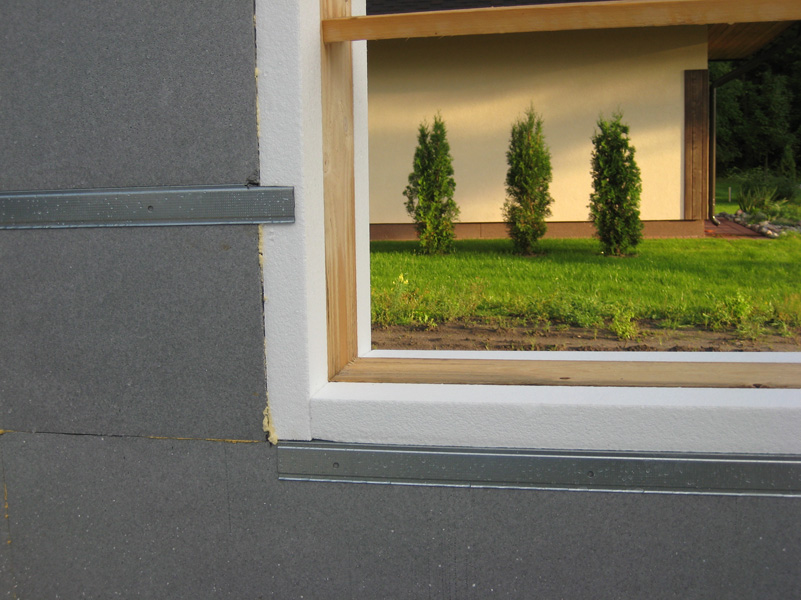

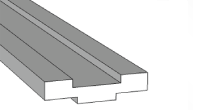
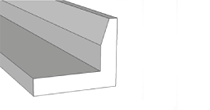
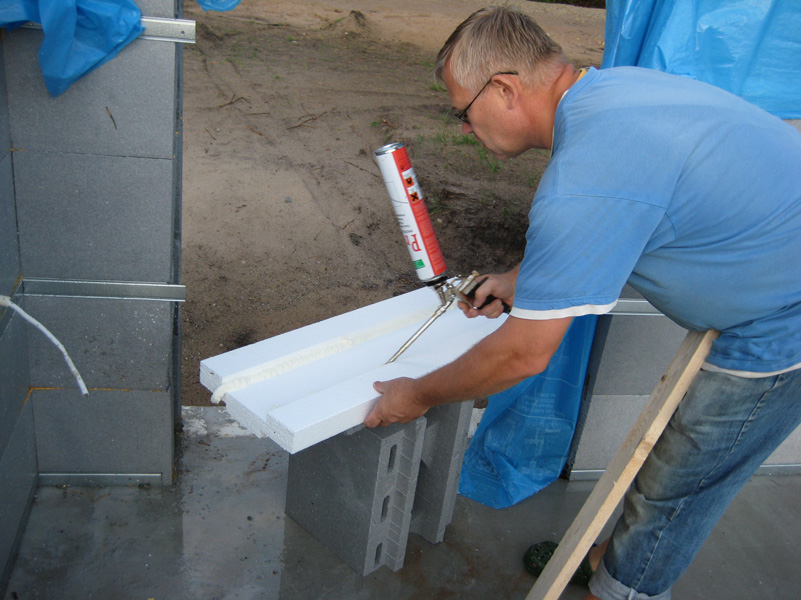
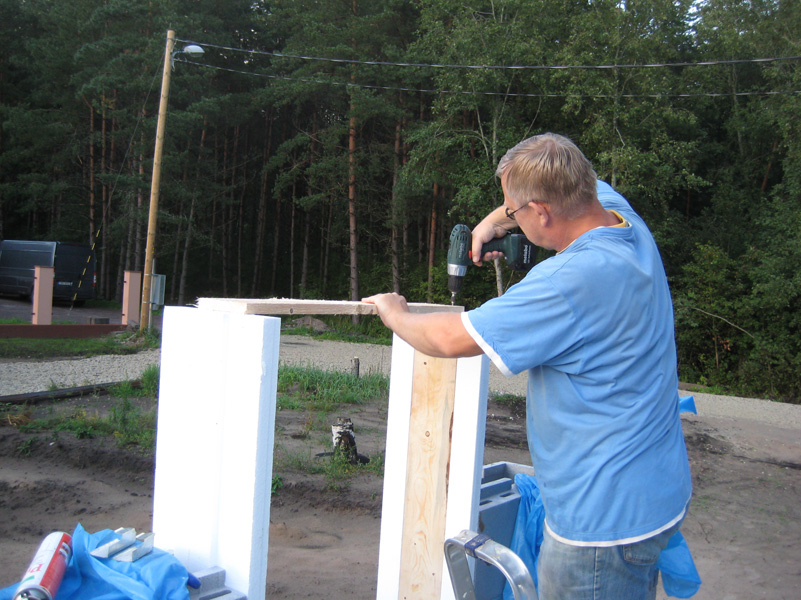
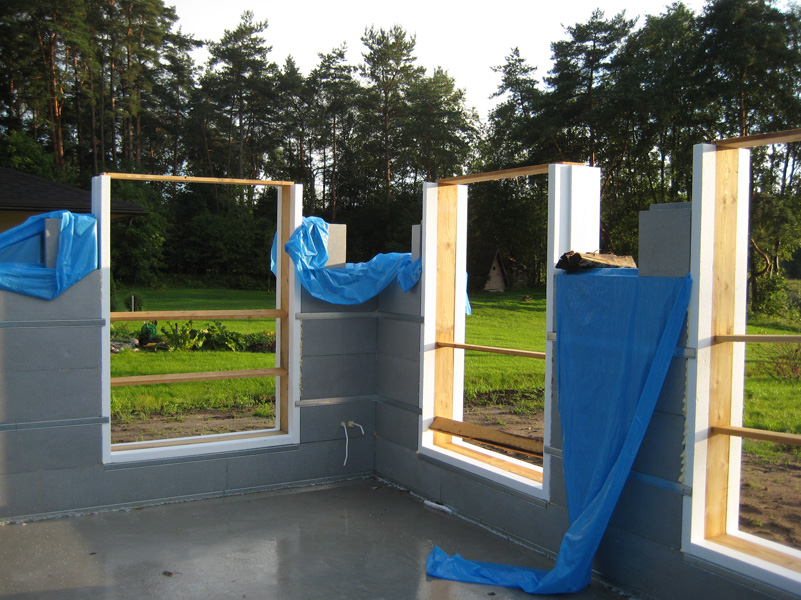
Measure out and saw the aperture profiles and the wooden frame (25×150) that have to be fasten to them with foam (17, 18), such that the vertical profiles are 55 mm longer, the lowest profile has exactly the same size, the top part of wooden frame is 55 mm longer and the top aperture profile is 110 mm longer than the aperture size. Fasten the aperture profiles (19, 20, 21). Prepare the lower aperture profile and test its suitability, but before concrete casting, mark them and put them next to the aperture.

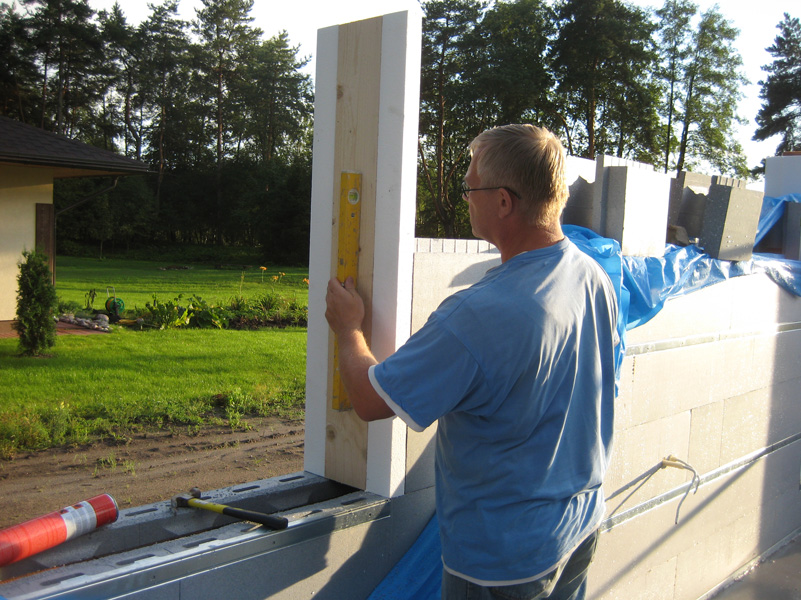
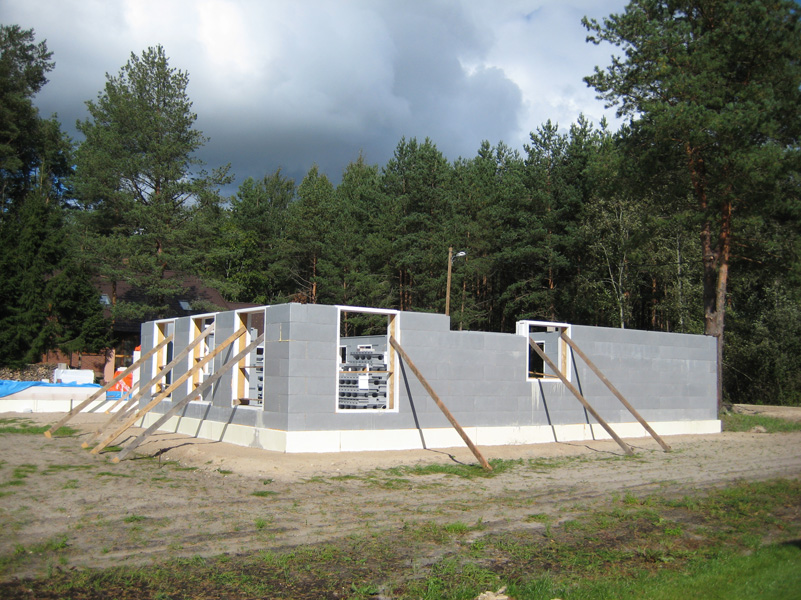
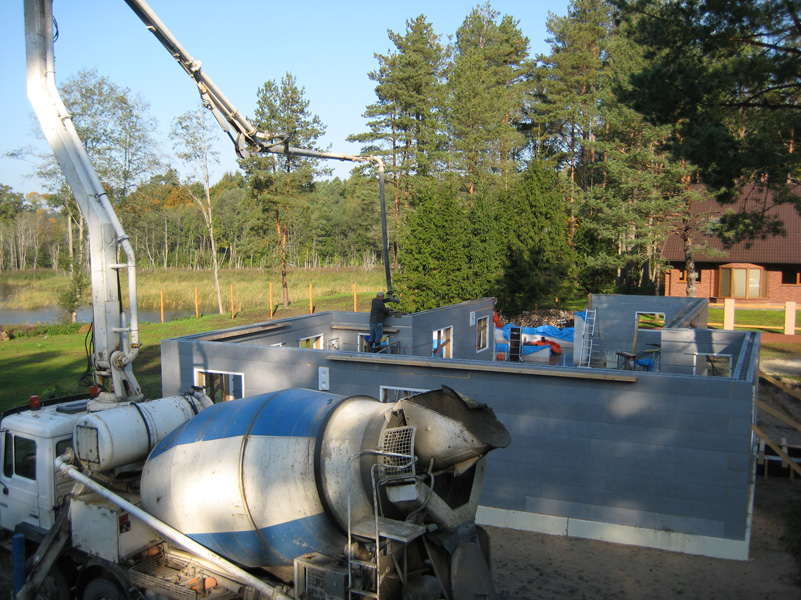
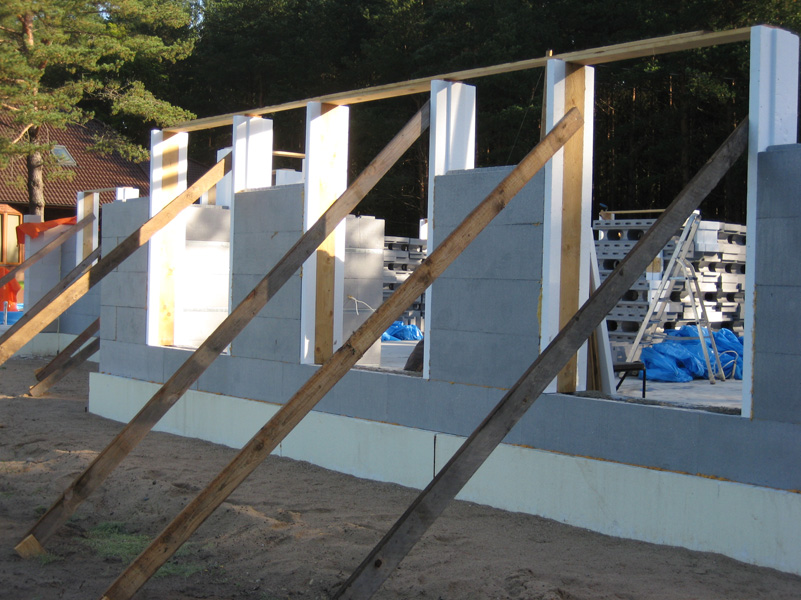
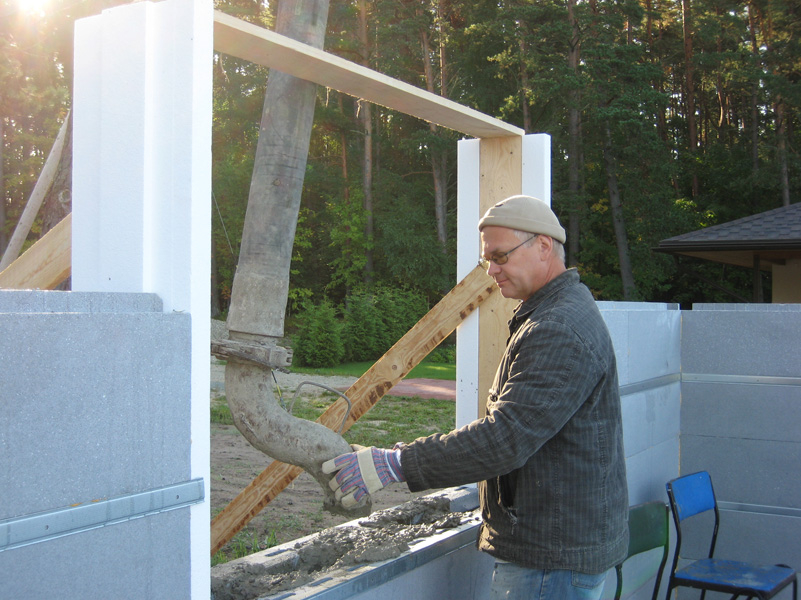
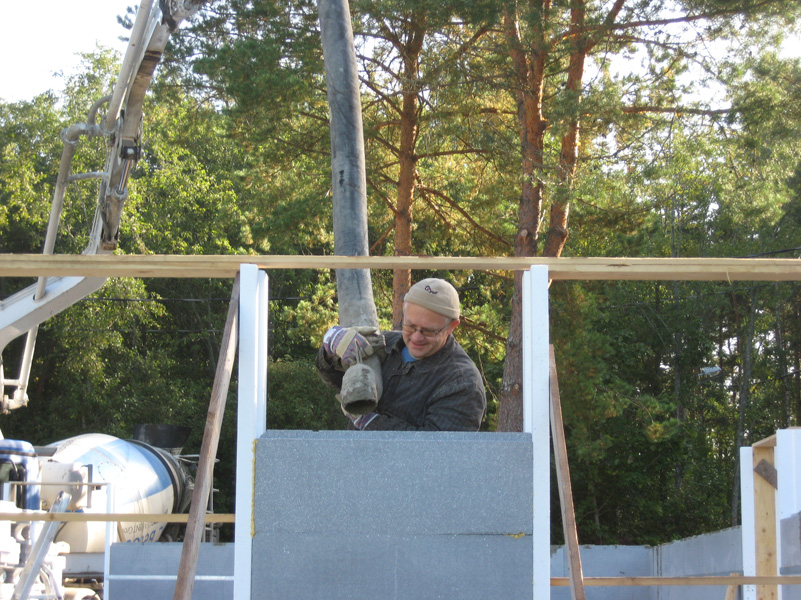
Stack 5 rows of the wall and prepare the wall to the first concrete casting. 5 rows is gives a wall hight that allowes to cast concrete without scaffold, and therefore the first casting is simply more convenient. The necessary density of the support depends largely on the shape of the wall. In most cases, it is enough to support the walls only next to the apertures (22). Straight walls without apertures and longer than 5 m must be supported in the middle. The sides of the apertures have to be supported with each other (23). After you have supported the wall, calculate the needed amount of concrete (102 L/m2) and order a concrete pump (24). The pump nozzle must be S-shaped (25) to subdue the concrete flow in the pipe. The concrete fraction has to be fine (10 mm) and the concrete has to be sufficiently liquid.

Start the wall casting with filling the places under the apertures (25), remove the excessive concrete if needed (26) and put the aperture profile on its place (27). Continue casting until the upper edge of the block row or as long there is still concrete available (28). It is not necessary to tighten the concrete with a vibrator!

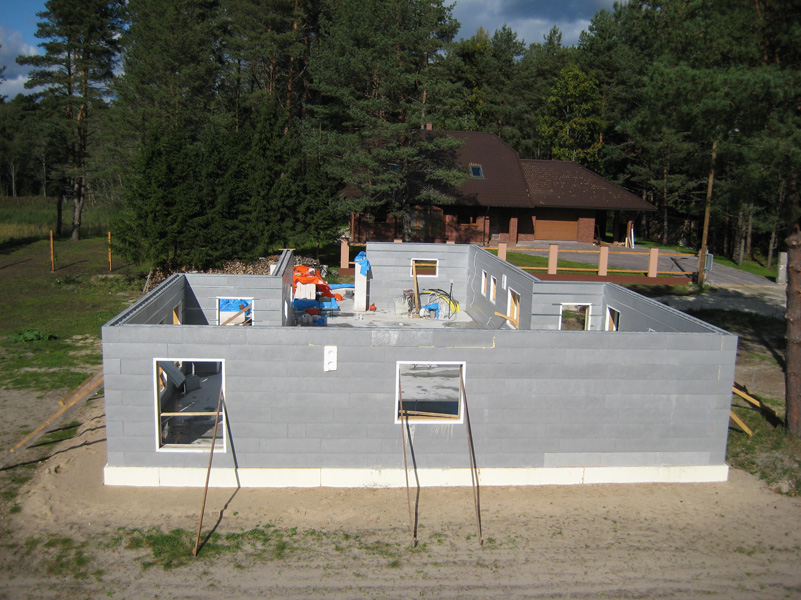
On the next day, after the concrete is hardened, you can continue installing the TermoBlocks (29). There is no need to use a corner block if you change the wall construction material. For support, use the wall part adjoining the TermoPlokk blocks (30). It is advisable to install the concealed utility networks (cables, ventilation units) before concrete casting (30). It is advisable to cut off the upper connection roller on the block on the last row. After you have stacked the whole wall to the wished height (31), calculate the precise amount of concrete, cast the block row even to the upper edge and flatten it (32).