Working instructions for L-Plokk
Plate foundation is the mostly used foundation type for small residential houses in places, where the soil replacement and backfilling work volume is rasonable.
Hereby, we describe shortly the work process how to build an insulated plate foundation without thermal bridges using L-Plokk blocks.
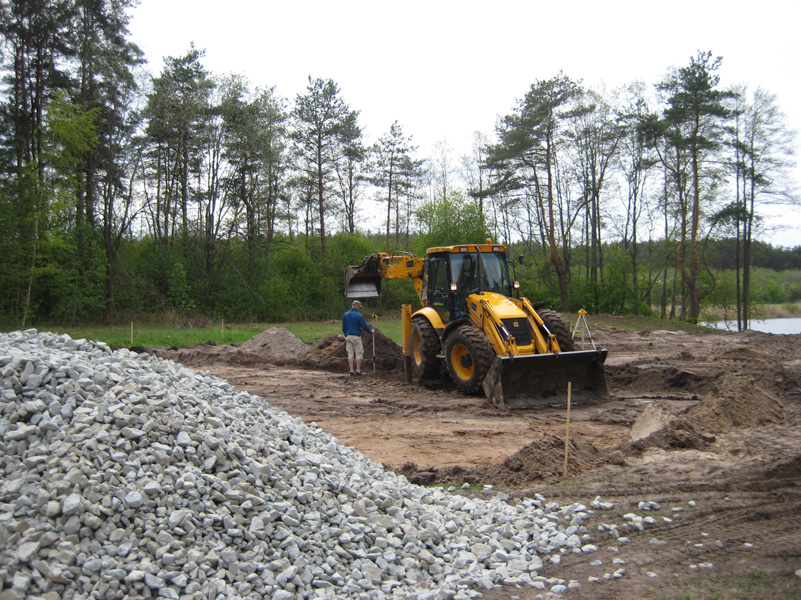
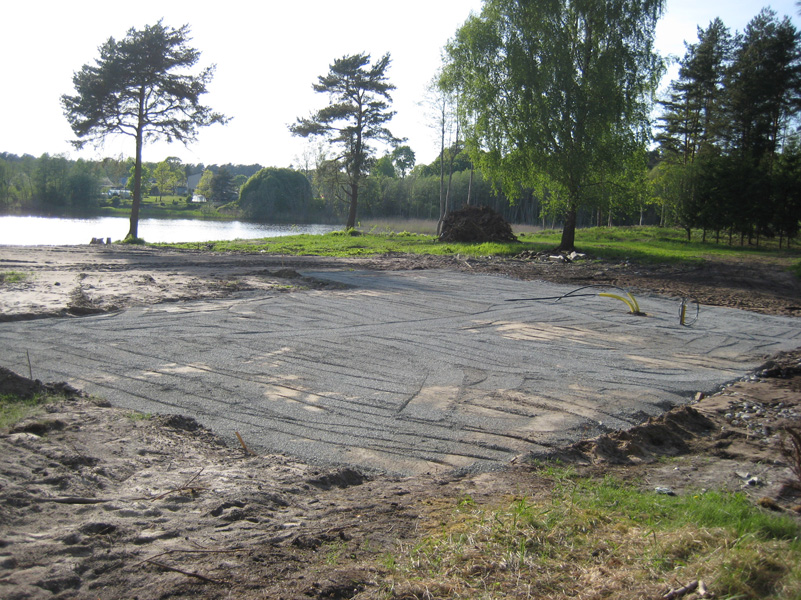
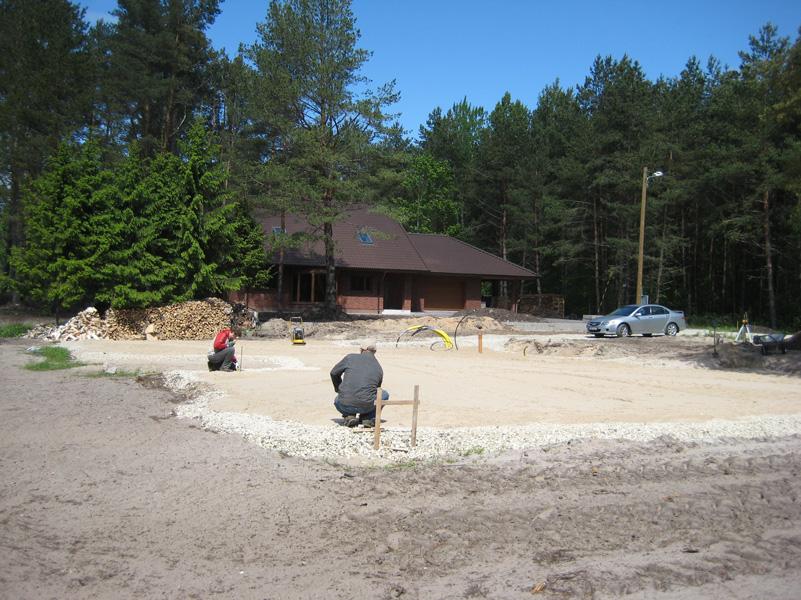
Firstly, you have to carry out excavation works. For that, remove topsoil under the foundation (1), about 1.5 m wider than the foundation edge. Fill the ground to the needed height (2, 3), by using flintstone or gravel. Tighten in layers, plumb the area under the foundation and measure out the external edges of the foundation (4)

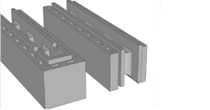
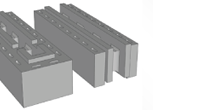
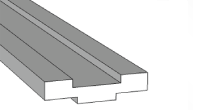
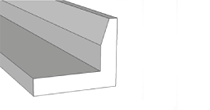
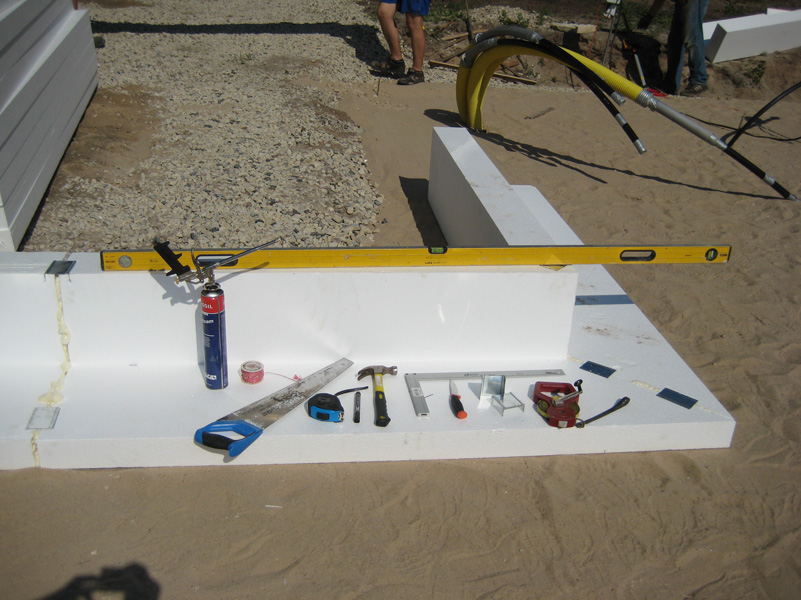
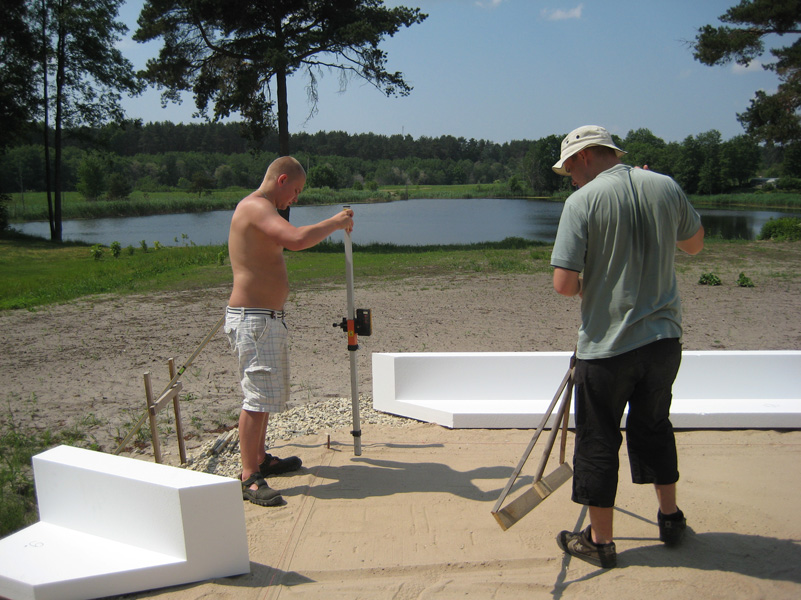
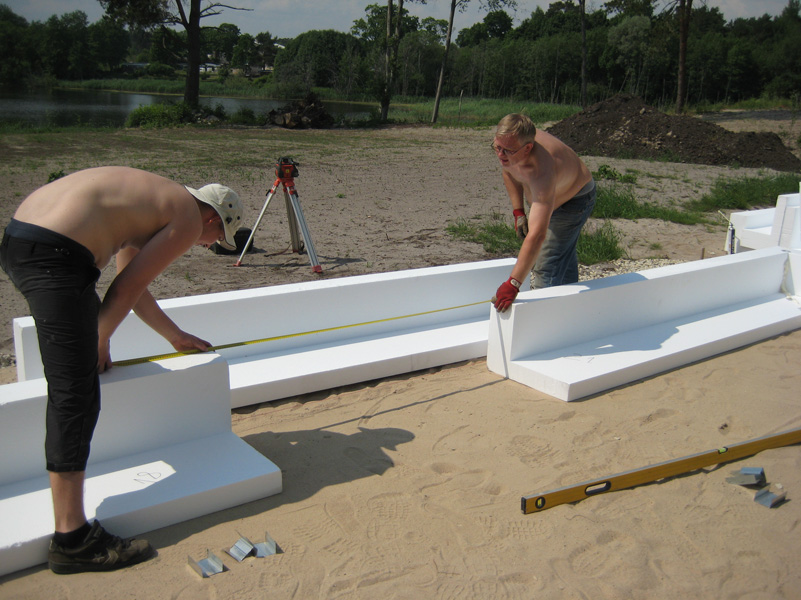
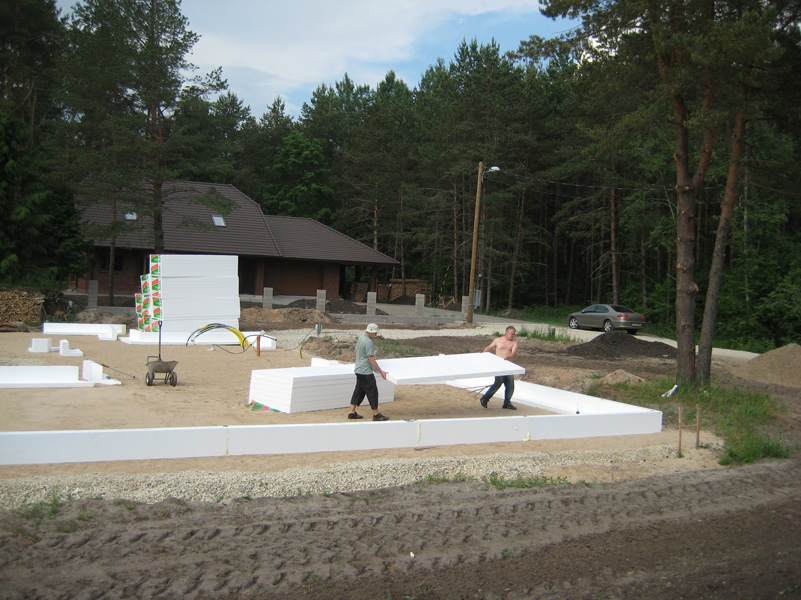
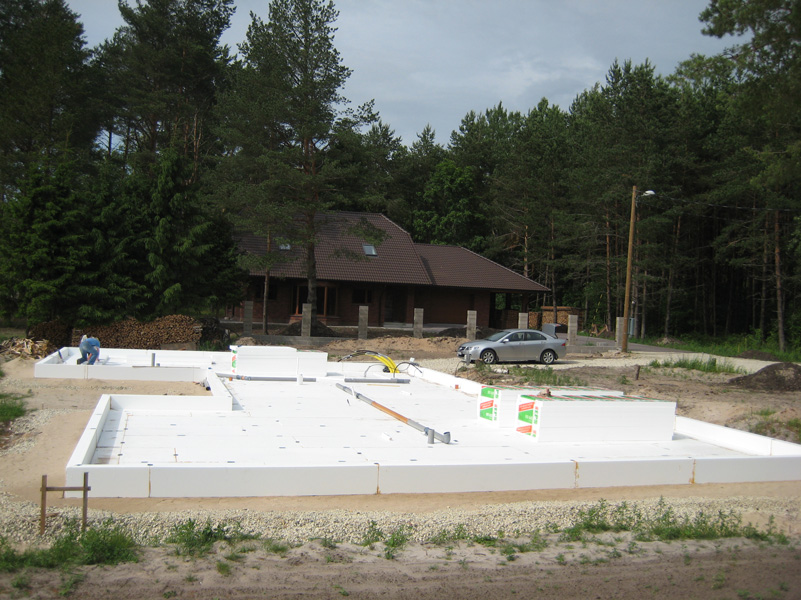
You only need simple tools to install EPS-scaffolding, L-Plokk blocks and insulation of the foundation (5). Start installing the L-Plokk blocks from the corners of the foundation. To do so, flatten and plumb the substratum with sand (6), cut tdown the ends of the L-Plokk by 45 degrees (7) and put the corner pieces on their place (8).


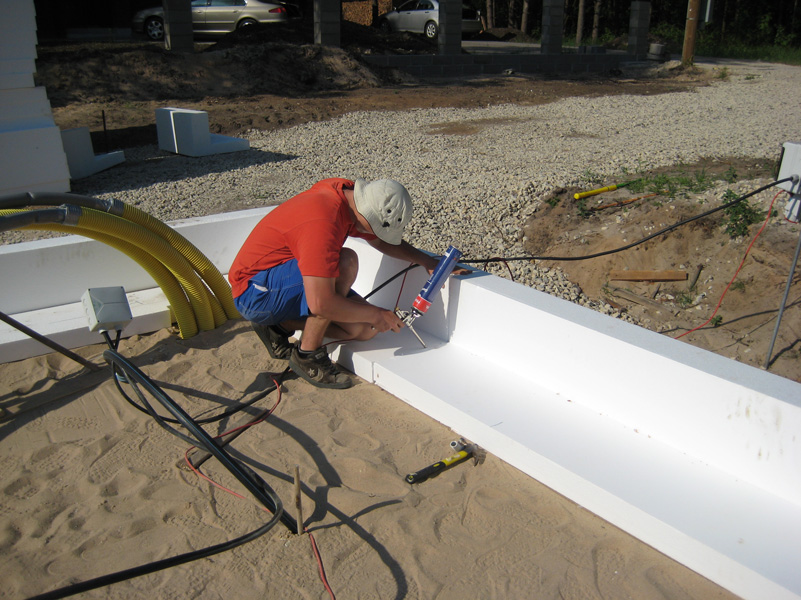
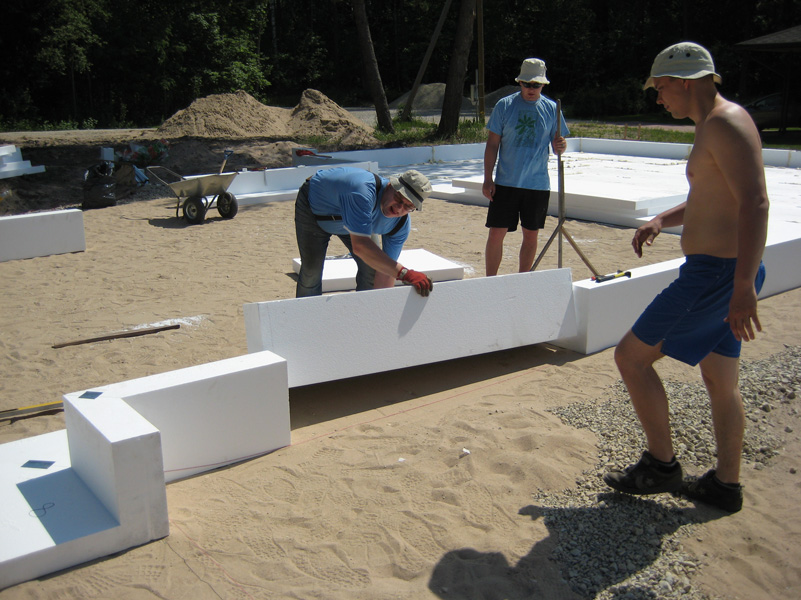
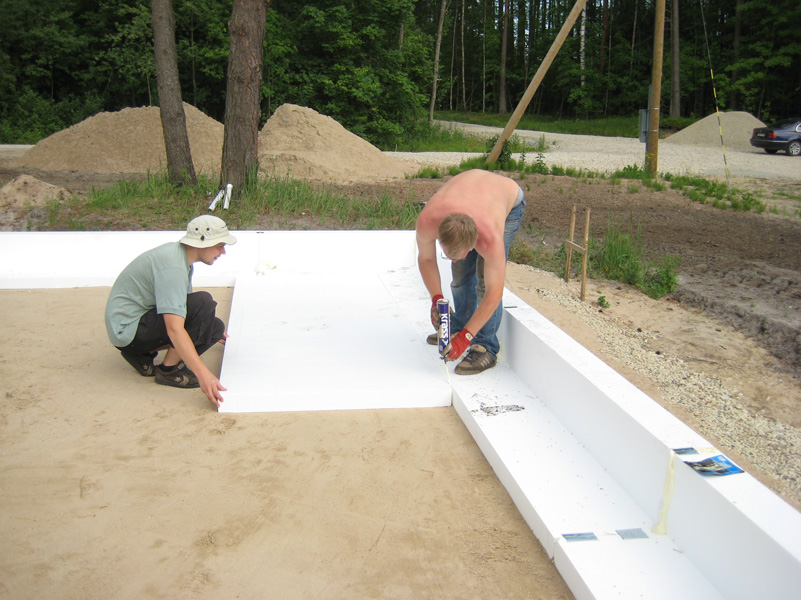
Next, install the L-Plokk blocks to connect the corners with each other (9), using construction foam (10) and about 10 cm long clamps cut from a skeleton belt profile (11, 13). To ease fastening of the braces, cut some groovs to clamps’ bench mark on the block’s edge, using a knife (12).


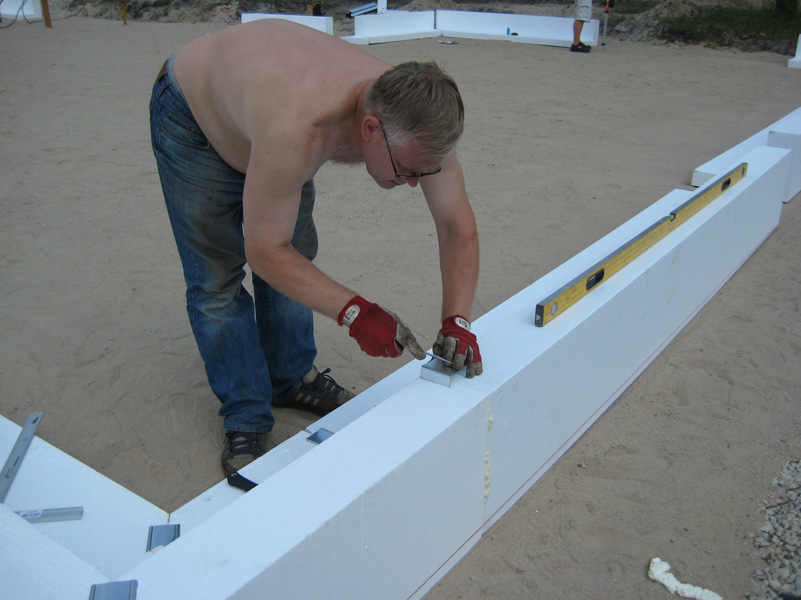
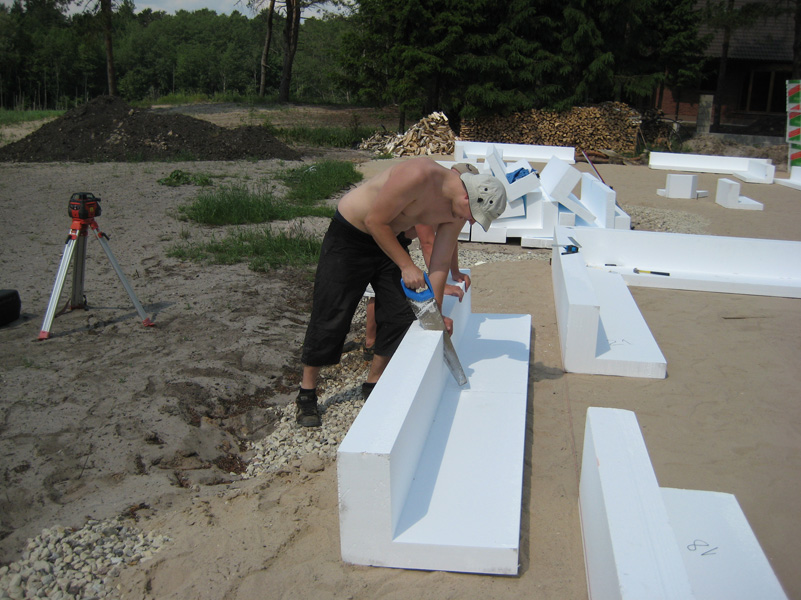
During the work, check that the whole perimeter is correctly plumbed (14); add or remove flattening sand if necessary. When installing the last pieces of L-Plokk, measure out their exact lenghts (15) and saw out pieces that are about 2 cm shorter (16), to leave space for construction foam during installing. When installing the block, ensure that the neighboring blocks do not move away from their position (17).

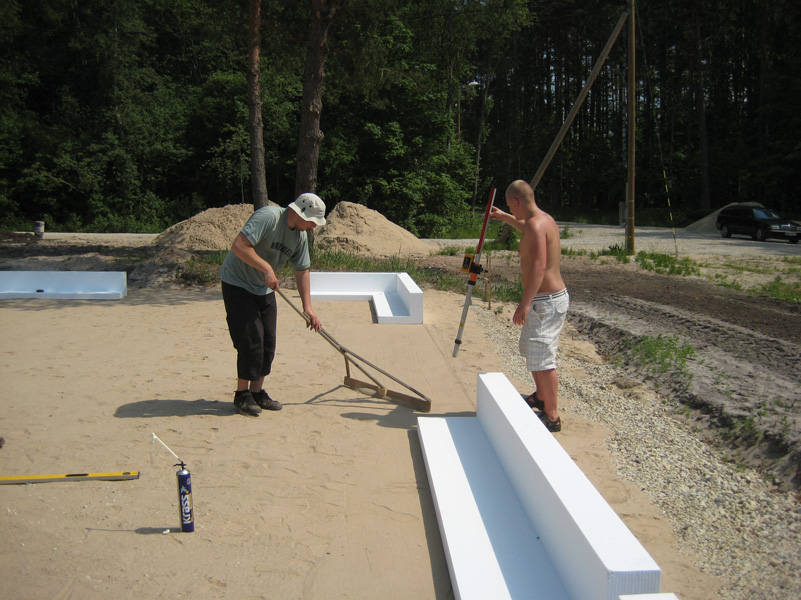
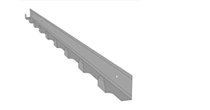
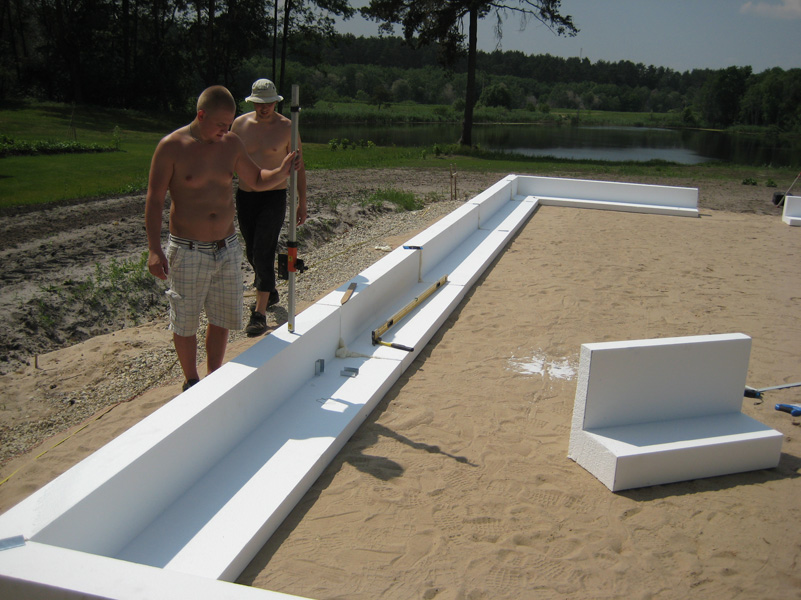
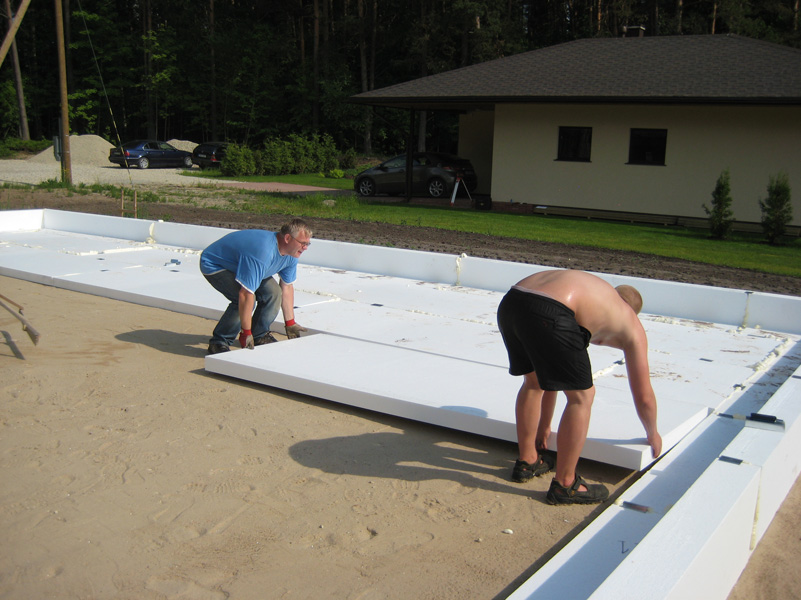
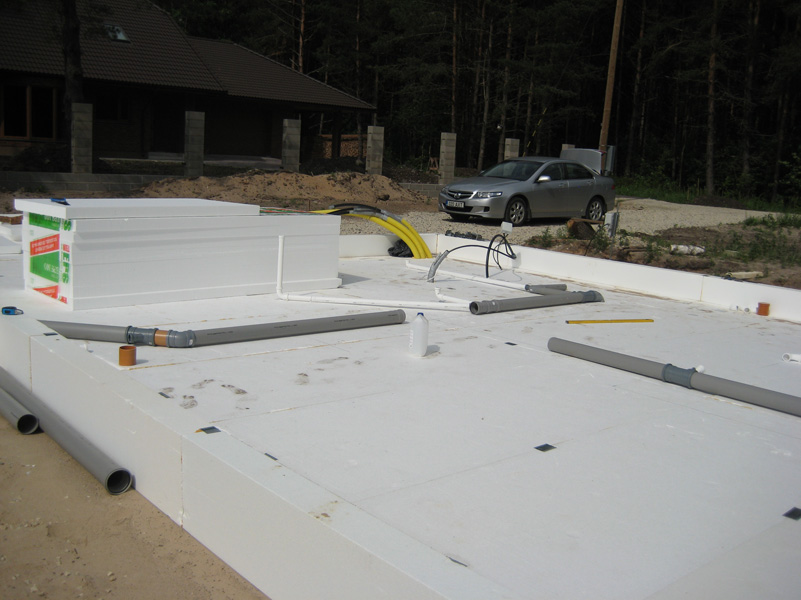
Use a wall cord and plummet to line up the foundation’s longitudinal direction (18). When the whole foundation’s perimeter is fringed with L-Plokk blocks, start to install the underground insulation layer (19). For that, we recommend to use EPS100 100 mm plates with size 1.2 x 3 m. You can save lots of time and fasteners by using big plates. Connect the plates to each other and with the L-Plokk’ edges (20) by using construction foam and mounting clamps (13)
Install the plates so that their joints do not align (21). Cover the whole area under foundation with plates (22, 23). Install sewer piping and, if you wish, also electricity cables between two layers of insulation (24)
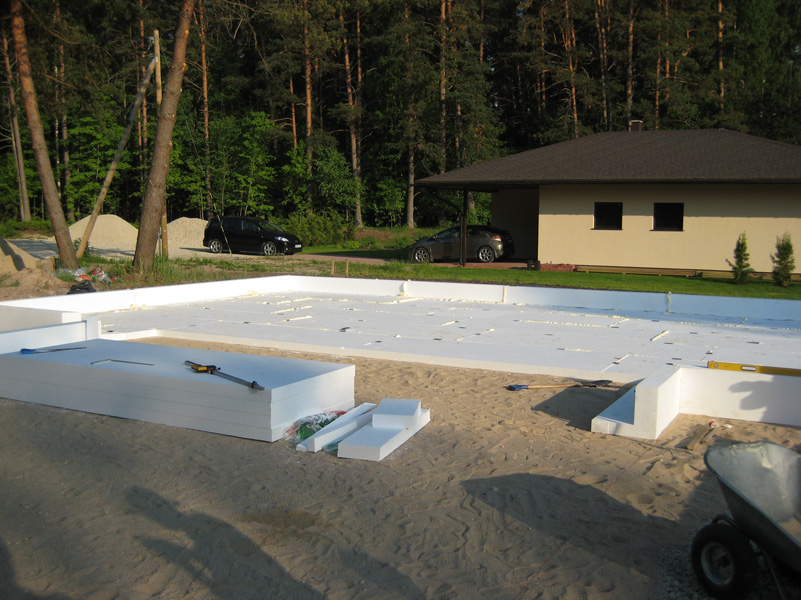
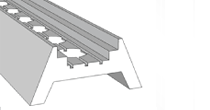
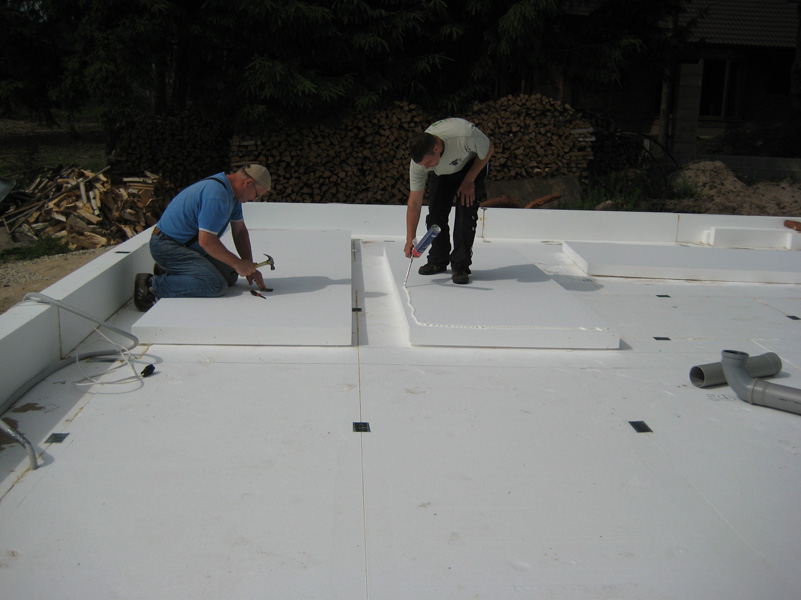
Install the next layer (or layers – depending on the height of the L-Plokk) of insulation, by glueing the layers to each other with construction foam (25). Such connected insulation plates will not move relative to each other and will create a monolite unit. Install the second layer 200-300 mm from the L-PLokk’s inner edge, to create a draught for pad footing. Create also the necessary draughts for bearing partition walls and for heavy installations above the floor (chimney, stoves) (28). Start to reinforce the foundation plate from installing of reinforcement web (6 x 150 x 150) (26). Next, install the needed reinforcements into the pad footing (on the outer perimeter 4×12 mm) and bind them to the web using ligaments (27).
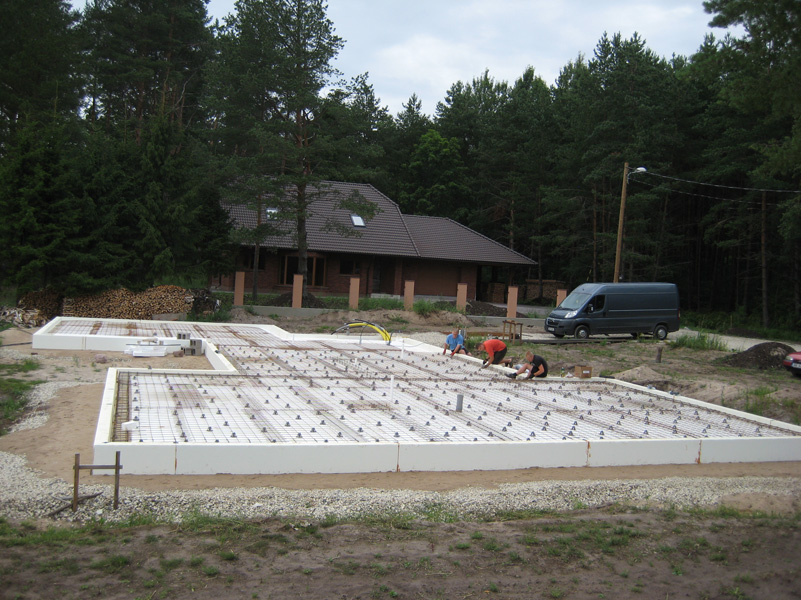
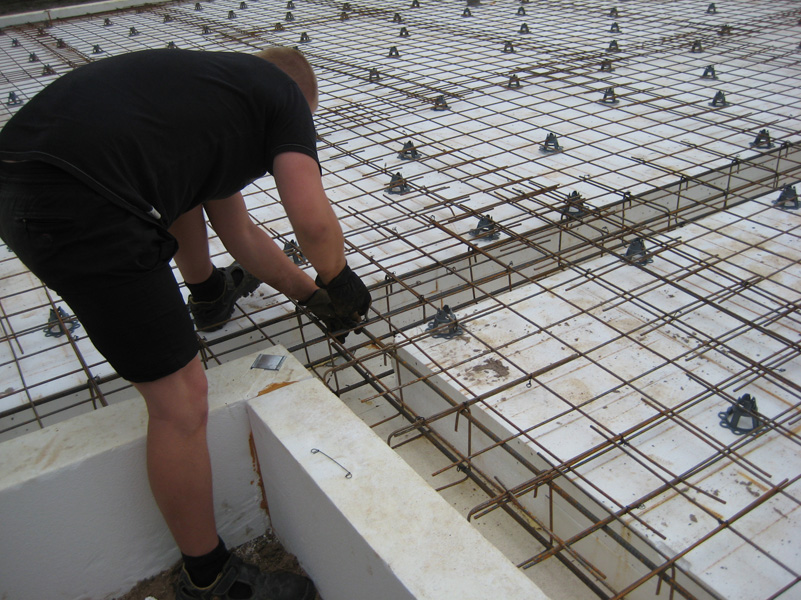
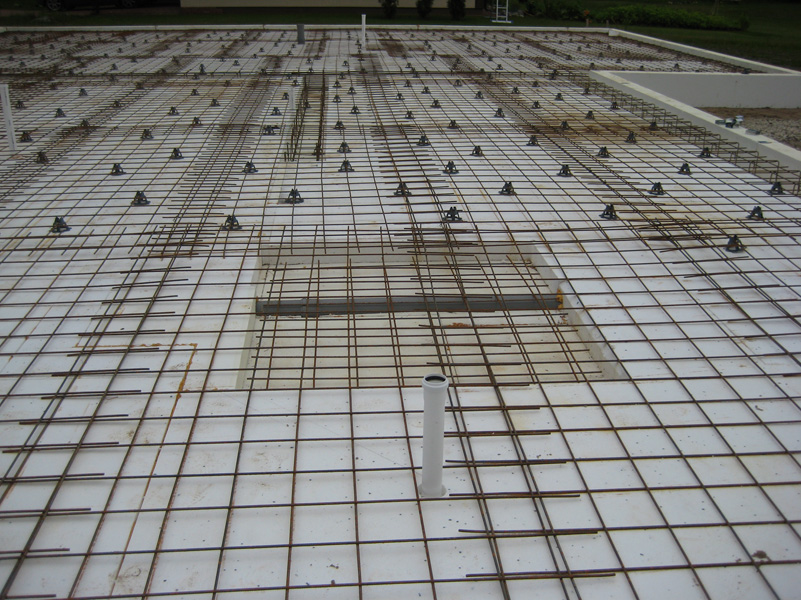
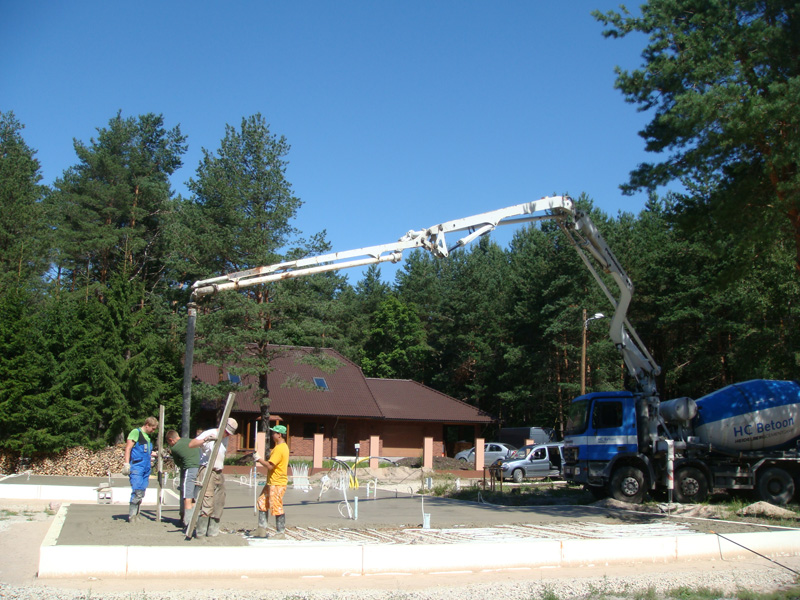
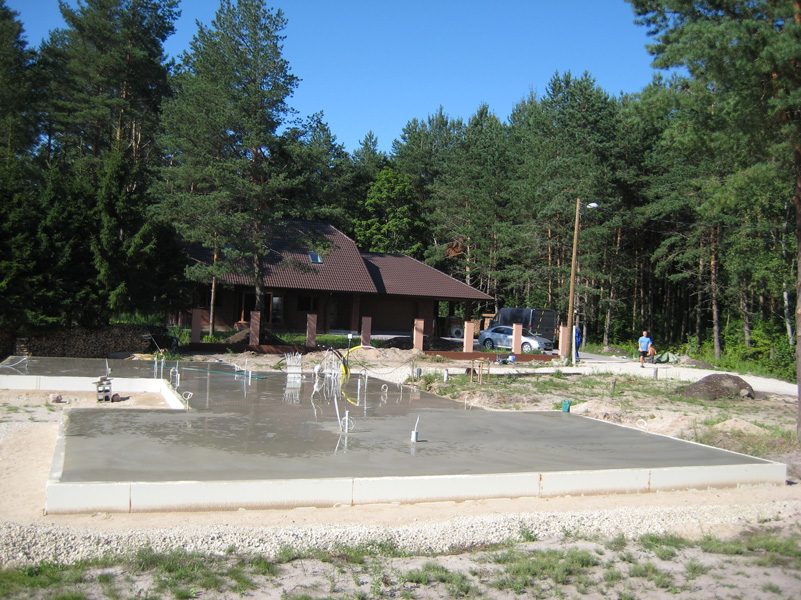
Lift the web and and the reinforcement rods on the reinforcement carriers (29). Install heating contures to the web and, if necessary, the yet not installed pipes/cables under the web (30). Now, the insulated and reinforced plate foundation framework without thermal bridges is ready. A L-Plokk perimeter is strong enough and does not require support during concrete casting. Order a concrete and a required amount of concrete (31) – craftsmen can handle the casting work within a couple of hours! Pärast plaadi lihvimist betoonilihvijaga (32), millele on võimalik hoone viimistlusjärgus paigaldada koheselt soovitud kattekiht.